The Best Time for Outdoor Pictures
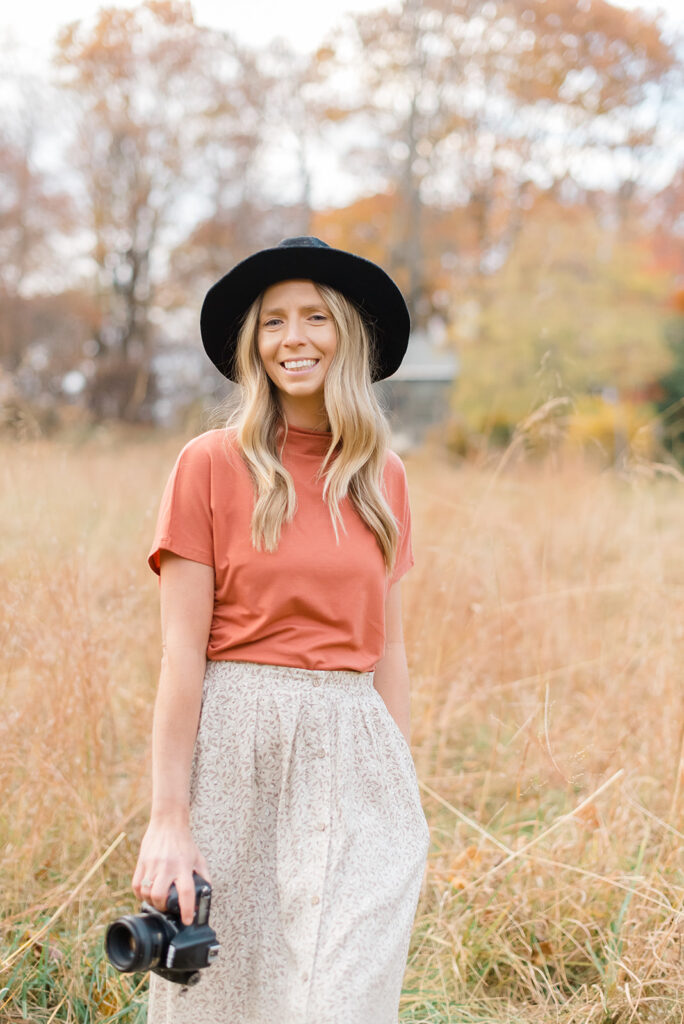
Hello and welcome back to the Take Better Photos Series. Today we are talking about one of my favorite topics, shooting outside in natural light. When I was first learning photography, almost 9 years ago, now, I was so excited to learn how to get those glow-y outdoor photos. And honestly, I thought it would be pretty easy. I mean, shooting outside means there is plenty of light to leverage, so how hard can it be? Ha, little did I know that outdoor sessions can actually be more challenging than learning photography indoors where the light is constant. So, today we are going to talk about learning to shoot in natural light settings and the best time of day to take photos . I will teach you what types of lighting scenarios to avoid and I will be sharing tips about how to shoot outdoor portraits in times that are not ideal, like the middle of the day as well as in challenging lighting situations such as direct sunlight. This is a big topic so let’s get into it!
Types of Outdoor Lighting to Avoid
Before we talk about the best time to take outdoor pictures, let’s talk about when and what to avoid shooting outdoors. The faster you can recognize poor lighting conditions, the more adept you will come about recognizing good light!
Midday Sunlight and Harsh Direct Light
When you are first learning photography, you will want to avoid shooting outside in the middle of the day at high noon on sunny days. This is because when the sun is high in the sky, it creates really harsh shadows that can be tricky to work with when you are still learning and fumbling around with your camera settings. Now, that is not to say that you will never want to shoot outside on a sunny day. There are ways to do it and as a wedding photographer, I find myself working outside on sunny days and in all sorts of crazy lighting conditions. It definitely can be done, but again when you are first learning, you will want to avoid midday sun.
Blue Hour
If golden hour is the hour after sunrise and before sunset, blue hour is the reverse- the hour before sunrise and after sunset. There is significantly less light available during blue hour. Personally, I do not enjoy blue hour photography because I don’t find the blue light flattering and there isn’t enough natural light source for my style of photography.
Split Light
Split lighting is when your subject or client is positioned half in the sun and half in the shade. This creates a harsh line shadow that goes across your subject and it is not flattering.
Spotty Light
Spotty light is created when the sunlight shines through something not solid, like a tree, creating spots of sun and shade. I don’t mind this so much in the background of a photo, but it will not work well if the spotty light is all over your client’s face.
Please avoid these types of lighting situations as best as you can.
Flattering Quality of Light
Now you know how to identify great light and are able to pin point a good time to take pictures outside. You also know how to avoid harsh light and the worst time of day to shoot. So now we can talk about finding great light during different times of day. Since it isn’t always possible to wait around for softer light, we have to get good at finding it. Here are some best practices for finding good light anytime in any location. I hope this helps you during your next photo shoot.
Soft, Even Lighting From Head to Toe
This is something I learned very early on in my photography career from two popular wedding photographers you may have heard of, Amy & Jordan. What this means is that we do not want any shadows on our clients. It is best to put your client in full sun because at least the lighting would be even, than in half sun and half shade.
Golden Hour : The Best Time to Learn Photography
Almost all professional photographers will tell you that the absolute best time to start learning to use that camera of yours is without a doubt, magic hour or golden hour. It happens twice a day- first, in the early morning the hour after sunrise and the hour before sunset. This is the time of day when the the sun is low in the sky and gives off beautiful and soft light. These golden hour light times will shift and change depending on your location and the time of year. You can look up the sunset times on an online calendar such as timeanddate.com. This time of day has the best lighting and is without a doubt a great time to learn portrait photography outdoors. Good light is key to good photography and if you can master learning to shoot in natural light, you will greatly improve your photography skills very quickly! And the best way to find flattering light is to shoot during golden hour. That isn’t to say that shooting during golden hour can’t be tricky. The sun goes down pretty quickly at the end of the day which means you may have to constantly change your settings in order to keep up with the light changes.Depending on the location you choose, you may also be able to start 2 hours before sunset. This can also be one of the best times of day for outdoor photography as long as you are not on a beach.
Related Read: Learn to Shoot in Manual Mode
Outdoor Photography : A Cloudy Day
Related Read: My Best Beach Family Photography Tips
Clouds act as natural light diffusers so cloudy skies are not something to be afraid of. I cannot tell you how many times overcast days saved me during golf course weddings! Even rainy days can have good lighting if you know what to look for. Sometimes we get a fully cloudy day where the sky looks white and while this works to diffuse the light, my favorite kinds of cloudy day is when the sky is blue but there are big puffy white clouds in the sky that move. When the cloud moves to cover the sun for a brief few minutes or seconds is the perfect opportunity to take your photo. That type of cloud cover is my favorite. Unfortunately, we can’t control the lighting we are given, but I mention it because if you know what to look for, you can anticipate the perfect moment to click your shutter. There have been many times that I have set a shot up on the beach and then waited for a cloud to pass through to get my shot.
Open Shade
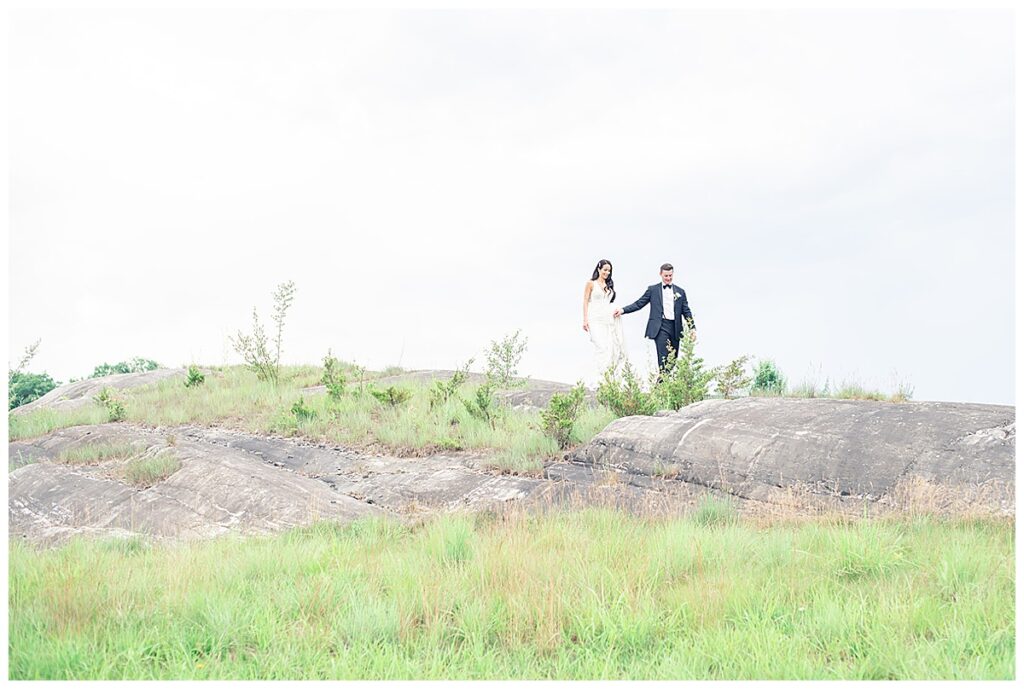
Open Shade is key to shooting in midday light. This is when you place your subject in a shady location but there is nothing over their head. For example, during this wedding, I placed my couple in a shadow the sun had cast by hitting a tree. The couple is not underneath the tree. When you look at the ground, you can see where the shade line ends and the harsh sun begins behind them. As long as the harsh sun or the lines of the shadows are not on my couple’s faces, this lighting works for me.
Outdoor Photos : Back Lighting
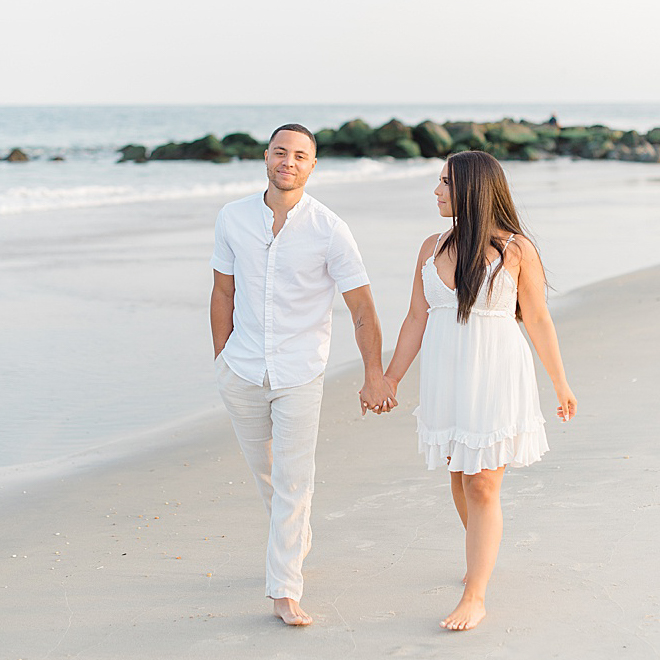
Sometimes we have no choice, but to put our clients in the harsh sun. On a wedding day I have to stick to a strict timeline and some locations, like beaches and golf courses don’t have many options for shade. Since we don’t have the option to wait for perfect light we have to make due with the lighting we have. In these situations (as well as with most other lighting situations) I always position my couples with their backs to the sun. If I were to position my clients facing the sun, this would cast unflattering shadows on their bodies as well as make their eyes squint from looking into the sun. Simply by turning them around, I can change the entire look of the photo. To take this one step further, shooting with your camera directly into the sun can be challenging, so positioning your clients with their backs to the sun and then slightly moving yourself on an angle is best.
Flash or No Flash?
Often times I will see a lot of photographers using their camera flash as a fill light when shooting outdoors, however, this is not my style. So feel free to leave the flash at home when learning to shoot in natural light. Don’t get me wrong, when shooting indoors in darker spaces, using a flash is a good idea, but that is a lesson for another day.
Location and Type of Photography
Don’t forget to take all of my advice here with a grain of salt. The tips I shared today are the best tips I have to match my personal style of photography which is light and airy. If you are looking to create a different style of photography, you may not like shooting during golden hour. Personally, I prefer a bit less contrast, so golden hour works well for me. You may want to get bright colors in your photos and prefer the late afternoon sun. There is no wrong way to do it.
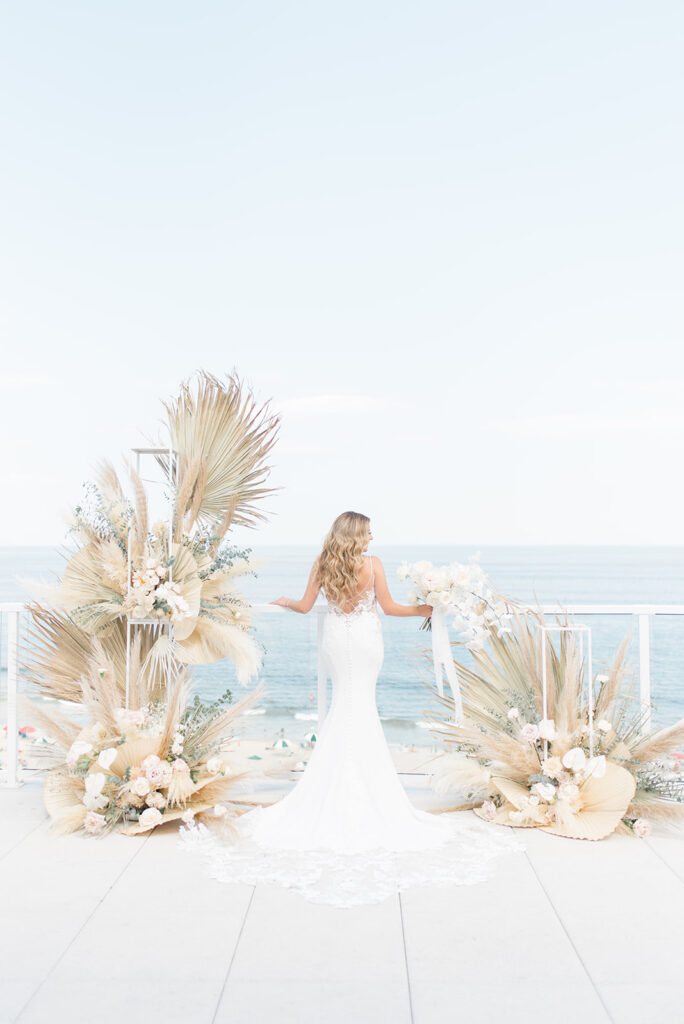
The location where you are shooting also matters. On an east coast beach, like the Jersey Shore, I can’t start shooting before golden hour because the sun will be too harsh and in everyone’s eyes. On the west coast, it is probably ideal to begin shooting two hours before sunset as the sun sets over the Pacific Ocean. In New Jersey, the sun sets in the west, which, depending on the beach can be over a parking lot. So, choosing the right location is key.
Post Production – Editing
No matter how great the lighting is, if you are shooting in RAW format, you will need to edit your photos after you take them. I do this in Lightroom. I use the same preset- the Lauren Fair Presets to edit nearly all of my photos. This, combined with good lighting techniques allows for consistency in my work. When shooting in RAW, the photos will look really good on the back of your camera, but when you upload them to your computer they may look a bit lackluster. This is because your camera preview is shown in jpeg format. RAW format isn’t pretty at first, but it allows you to have much more control over the editing process and how the final photo looks. I’ve heard the JPEG vs. RAW conversation compared to store bought cookies in a package vs. home made cookies. It may be easier to just buy a package of cookies at the store, but home made cookies taste so much better. Its the same when it comes to your photos. Shooting in JPEG may be easier, but it is worth it to put in the extra effort in post production to produce a better looking photo. I hope this makes sense!
So there you have it! I hope you learned a lot about shooting in natural light. It really is worth it to take the time to learn what great lighting looks like, how to avoid bad lighting and how to make the most of the lighting you’ve got! Thank you for reading this blog post and I hope you enjoyed learning about the best time for outdoor pictures and ultimately how to master natural light. Good luck finding the best time of the day to take photos that match your style of photography. As always, if you have any questions or there is anything I didn’t cover here please leave a comment or send me an email and let me know.
Also, be sure to read more from my Take Better Photos Series. I hope this helps you become a better photographer.
Take Better Photos Series
Take Better Pictures Without a DSRL
Photography Gear Recommendations